When you get ready to design your next printing project, there are three things to consider to make the process easier. Easier generally means less expensive. It also means it likely will take much less time to produce. Who doesn’t want easier, faster and lower cost?
1. Avoid custom-sized envelopes
Just because you have a vision to produce something unique, it doesn’t mean that it can’t fit inside a standard-sized envelope. With this in mind, here are several examples of creative projects that were paired with standard-sized envelopes.
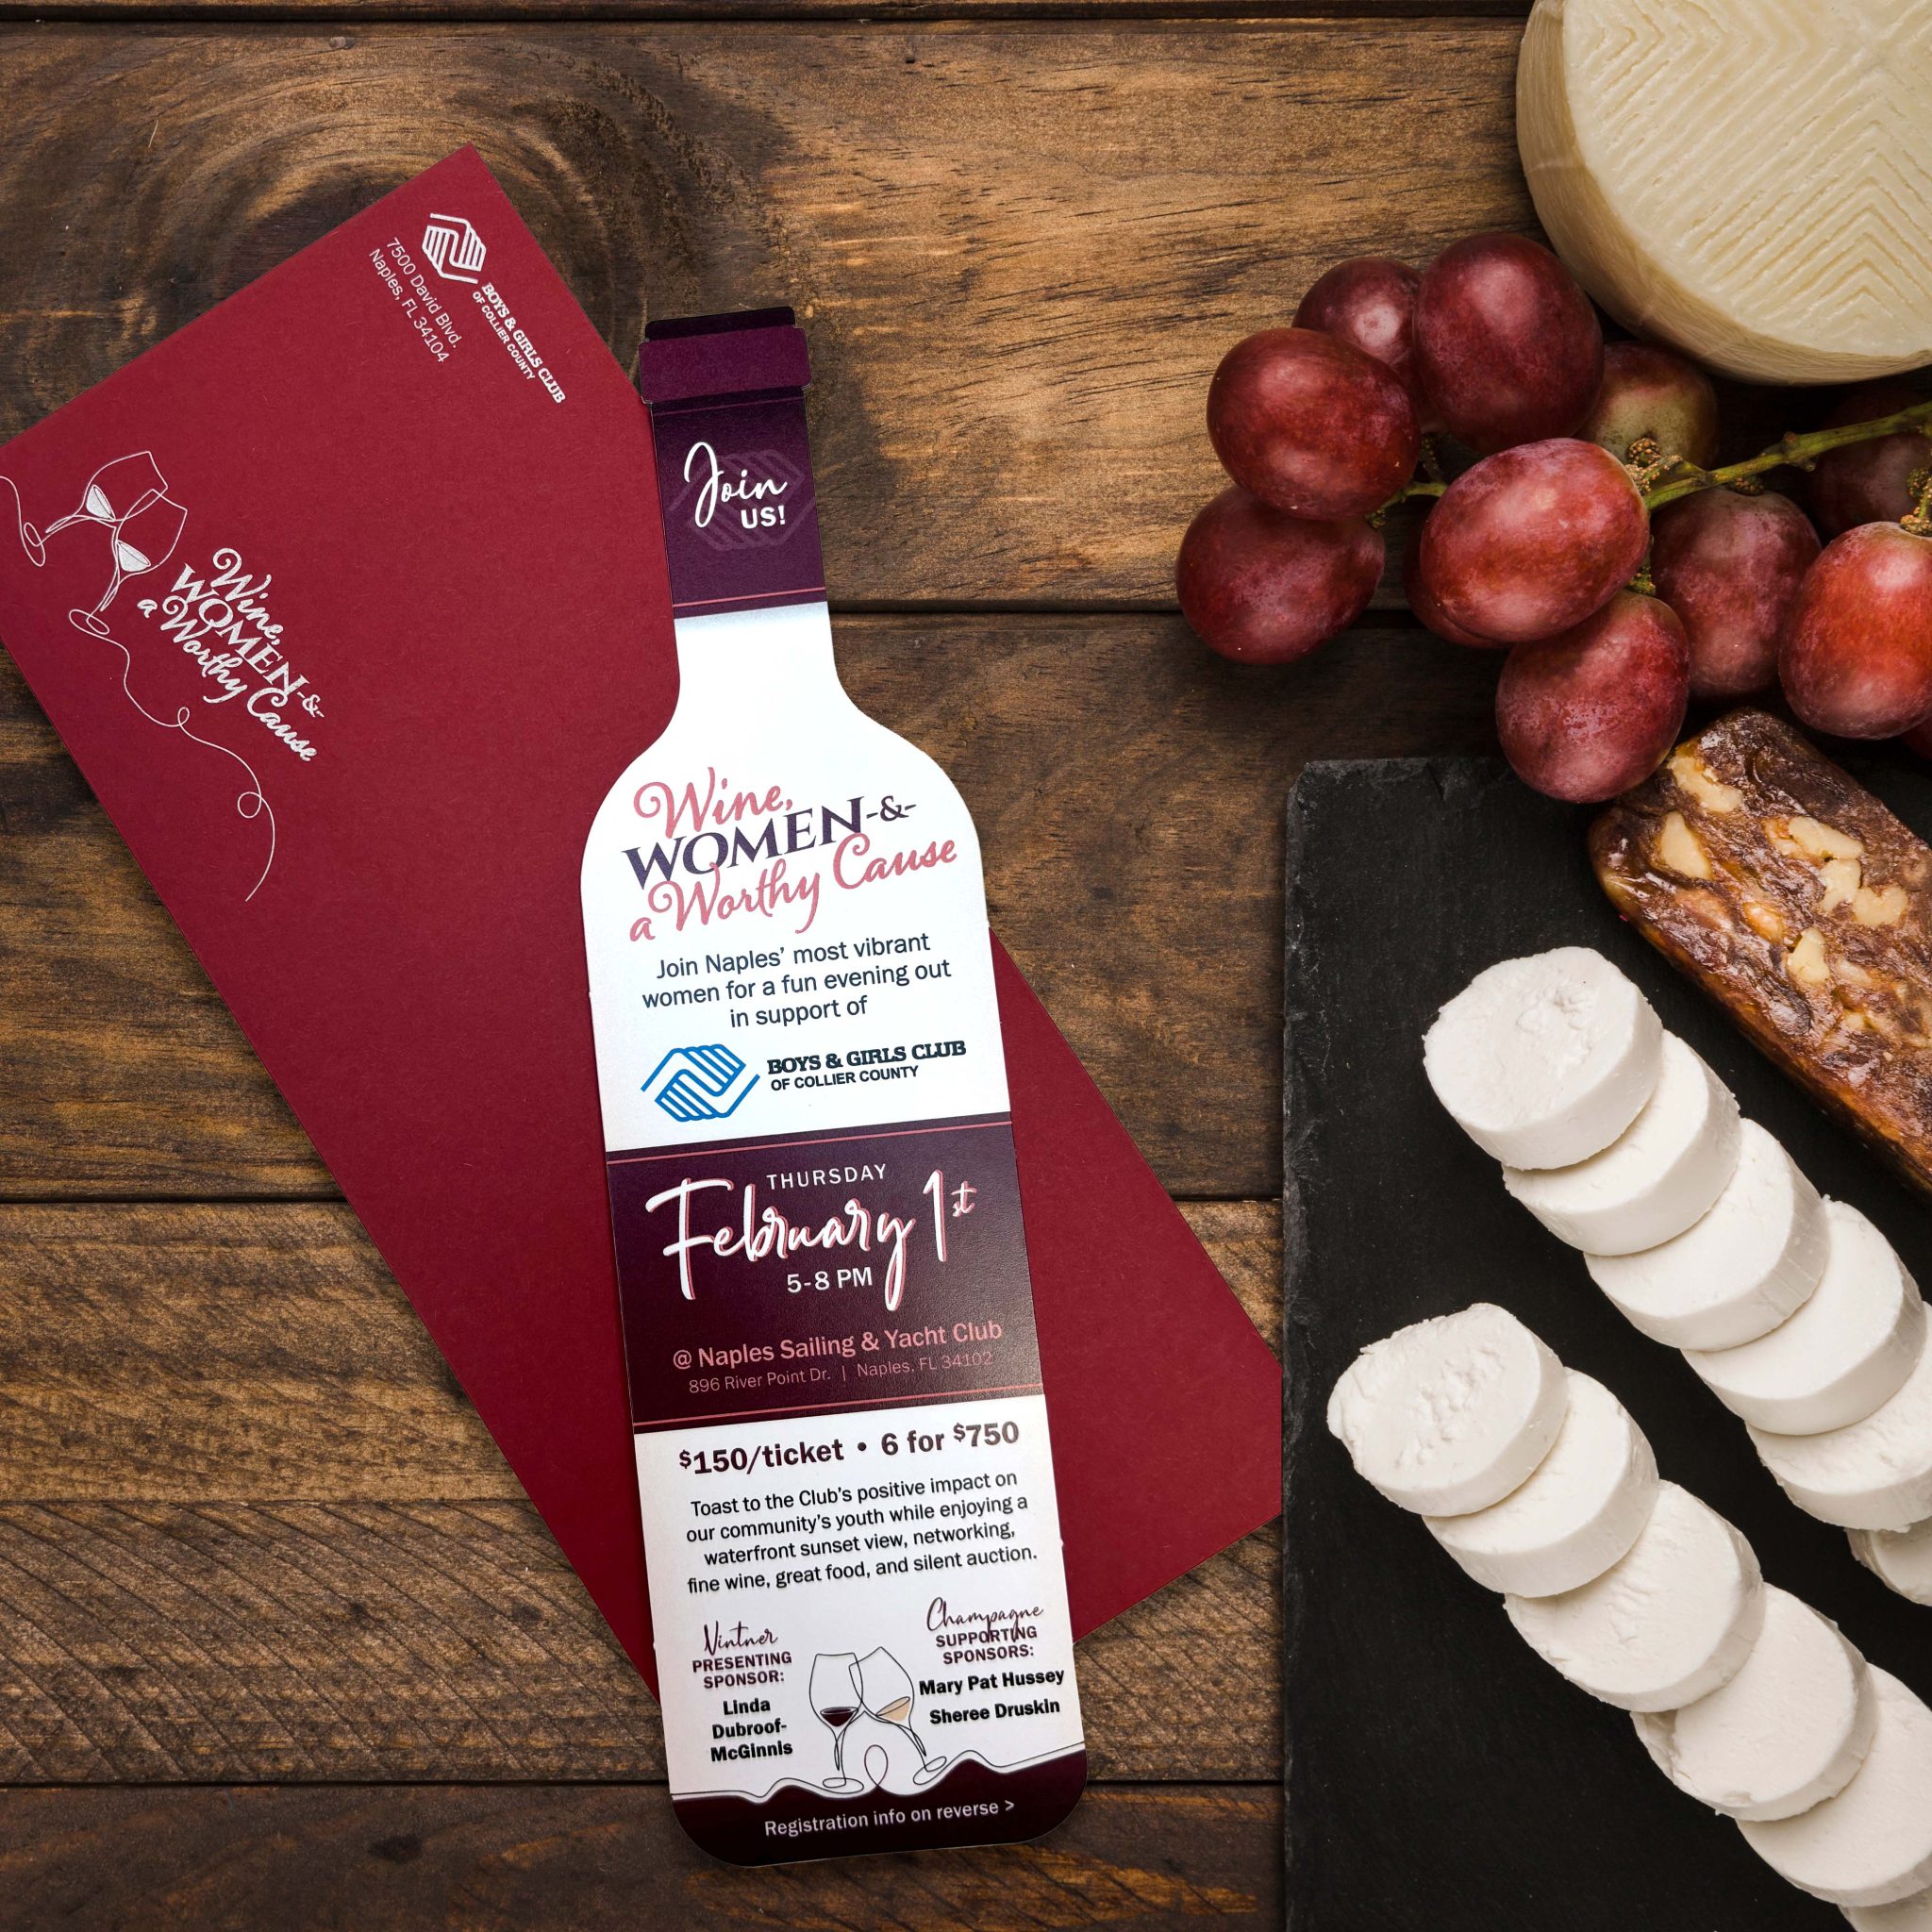
This beautiful custom-shaped wine bottle invitation fits perfectly inside a standard #10 envelope:
This cute door-shaped invitation was paired with an A7 woodgrain envelope, seen here. Despite having a unique woodgrain texture, this is a standard envelope.
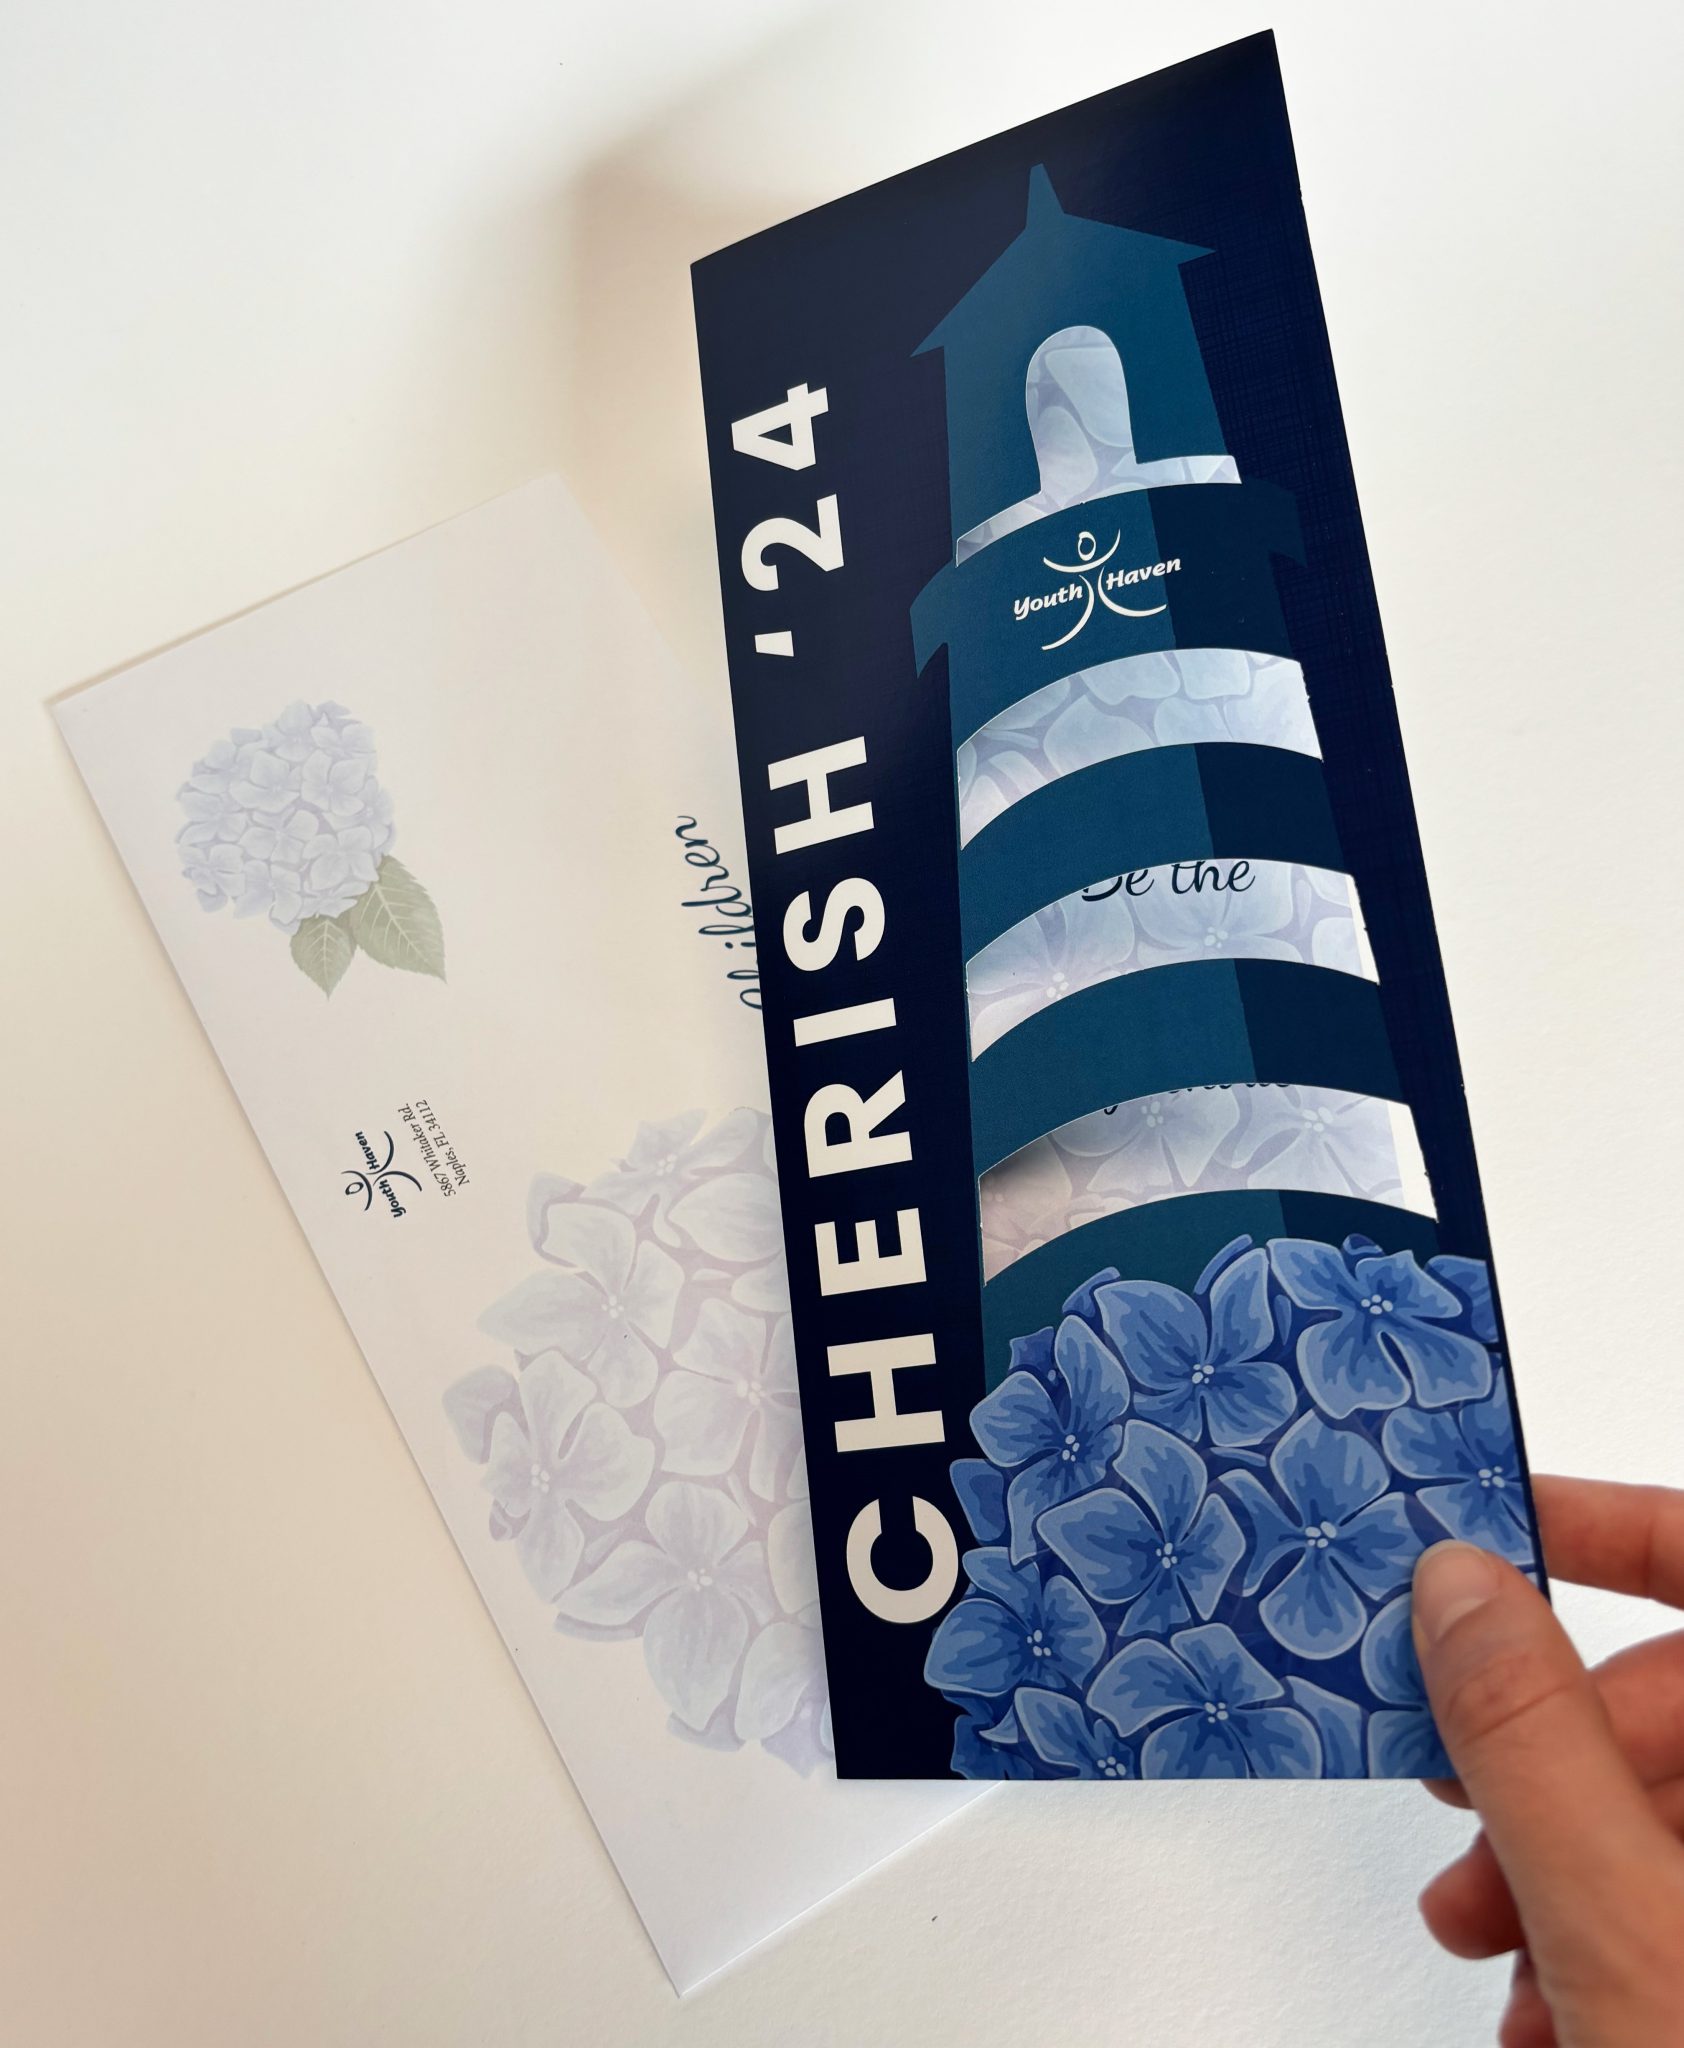
This one-of-a-kind, tri-fold invitation with a lighthouse die cut still fits into a standard #14 mailing envelope:
One step closer to a custom envelope, but still less expensive, is to produce a custom envelope liner like the one you see in this A6 envelope, seen here. Opting for a EuroFlap style envelope allows more area for showcasing the lovely liner.
For reference, you can read a prior post that includes the most common sizes of available envelopes, here.
2. Avoid complex folds
To save time and money, it is always best to avoid a complex fold. Examples of complex folds include something that folds in two different directions or has a diagonal fold. These projects will likely require hand-folding as opposed to the more efficient and cost-effective machine-folding.
This vertically-oriented winter-themed invitation has a flat size of 17″ x 5.5″, but is a basic bi-fold that still fits in a standard A9 mailing envelope.
3) Avoid printing a solid color; use colored paper instead
Slathering a sheet of white paper with color ink has many drawbacks. The printed sheet will need to be coated with varnish or another clear coating to prevent offsetting (the ink coming off the paper). Heavy ink coverage also drowns out much of the character, textures and special finishes that are inherent in the paper.
Folding printed white paper will result in some cracking. When the paper cracks the white fibers in the paper are visible at the fold. Colored sheets maintain their color throughout so no cracking is visible.
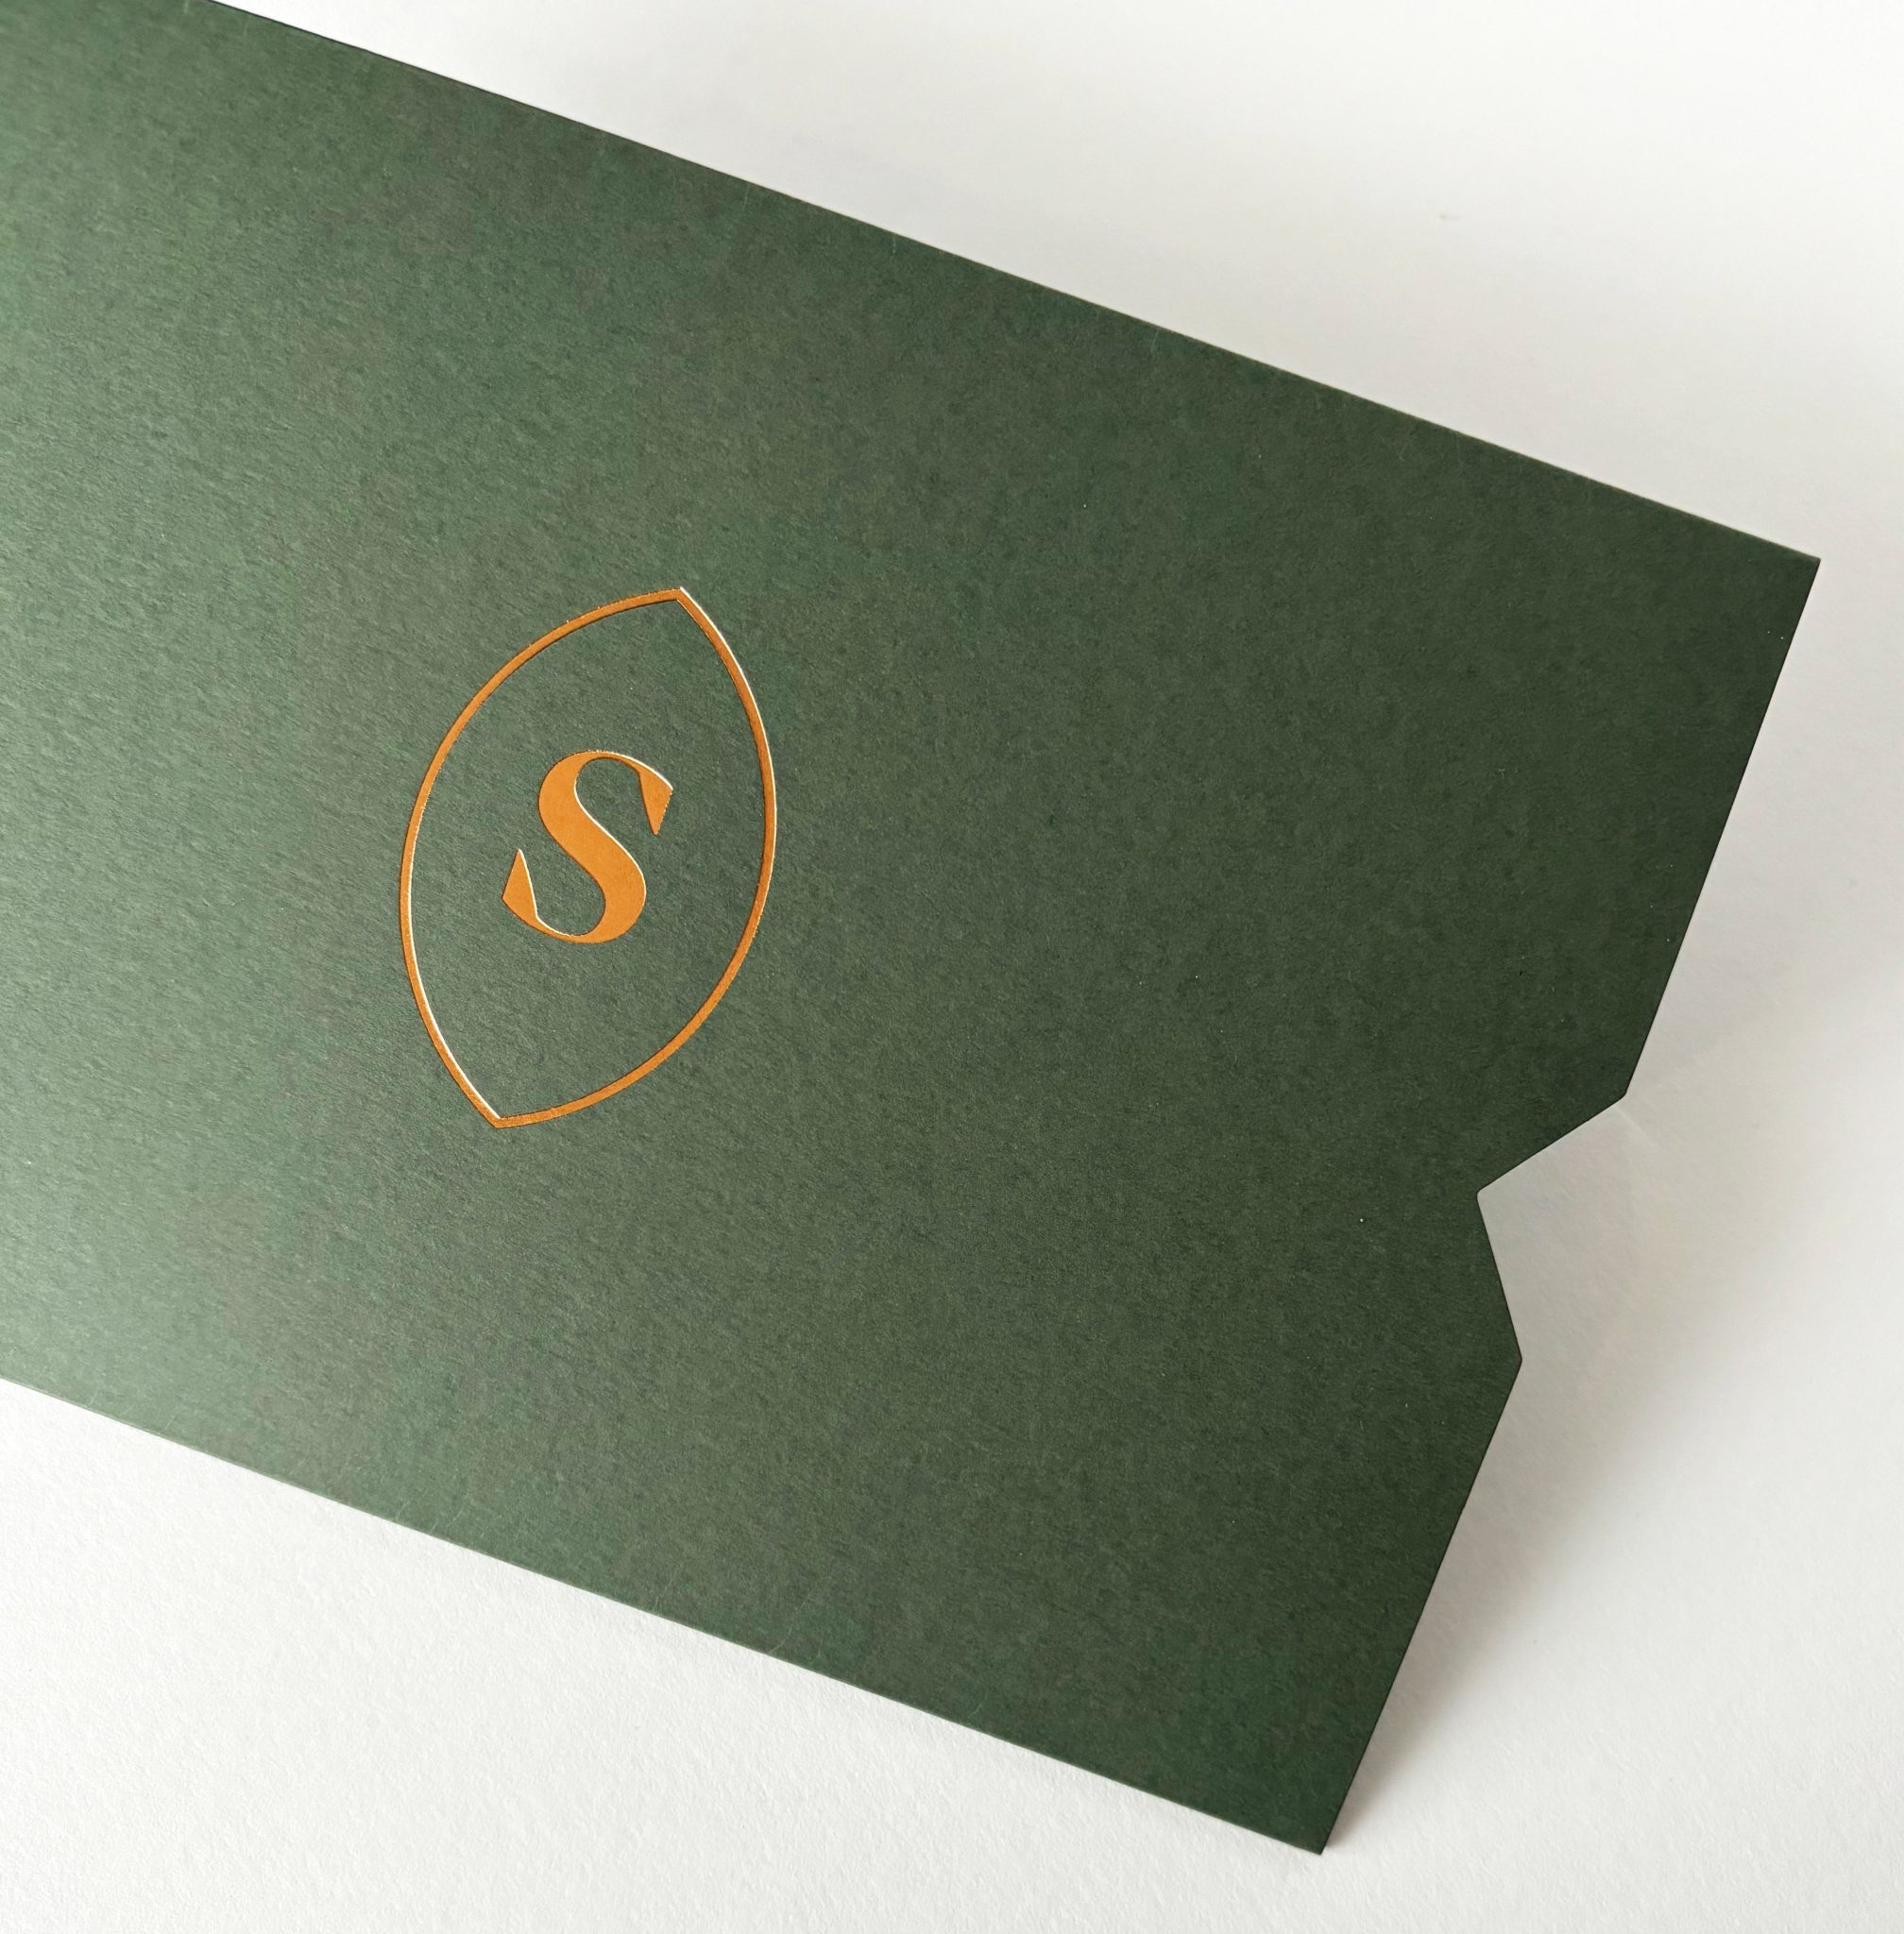
In this example, we used an attractive green stock to create a copper-stamped sleeve:
This black A7 envelope contrasts beautifully with gold foil, seen here.
By considering these three tips, you will be able to create simple, cost-effective and impactful print packages. We can walk through these steps together on your next invitation or other printed piece. When you are ready to begin planning your next marketing project, contact us so we can discuss how to create a piece that stands out, gets noticed, and achieves your goals.
Like what you’re reading? Have you signed up for our marketing tips enews yet?